gitlab+jenkins持续集成
gitlab
安装
RHEL/CentOS 用户
- 新建
/etc/yum.repos.d/gitlab-ce.repo,内容为
1 | [gitlab-ce] |
- 再执行
1 | sudo yum makecache |
配置
- 修改 私库 clone 地址
vi /opt/gitlab/embedded/service/gitlab-rails/config/gitlab.yml1
2
3
4
5
6
7
8
91. GitLab app settings
==========================
gitlab:
## Web server settings (note: host is the FQDN, do not include http://)
host: xxx.xxx.xxx.xxx
port: 8181
https: false- 重启
gitlab-ctl restart访问 ip 跳转到 gitlab.example.com
修改
/etc/gitlab/gitlab.rbexternal_url为机器 IP关闭 gitlab 使用
gitlab-ctl reconfigure重新启动
完全卸载 GitLab
停止 gitlab
sudo gitlab-ctl stop卸载 gitlab(这块注意了,看看是 gitlab-ce 版本还是 gitlab-ee 版本,别写错误了)
sudo rpm -e gitlab-ce查看 gitlab 进程
ps -ef|grep gitlab
杀掉第一个守护进程 (runsvdir -P /opt/gitlab/service log)kill -9 4473
再次查看 gitlab 进程是否存在删除 gitlab 文件
1
2
3
4删除所有包含gitlab的文件及目录
find / -name *gitlab*|xargs rm -rf
删除gitlab-ctl uninstall时自动在root下备份的配置文件(ls /root/gitlab* 看看有没有,有也删除)
find / -name gitlab |xargs rm -rf
通过以上几步就可以彻底卸载 gitlab
jenkins
安装 nginx
- nginx(用于加速插件下载)
1 | sudo rpm -Uvh http://nginx.org/packages/centos/7/noarch/RPMS/nginx-release-centos-7-0.el7.ngx.noarch.rpm |
配置 nginx
1
2
3
4
5
6
7
8
9
10
11
12
13
14
15
16
17
18
19
20
21
22
23
24
25
26
27
28
29
30
31vi /etc/hosts
127.0.0.1 mirrors.jenkins-ci.org
vi /etc/nginx/conf.d/mirrors.jenkins-ci.org.conf
server
{
listen 80;
server_name mirrors.jenkins-ci.org;
location / {
proxy_redirect off;
proxy_pass https://mirrors.tuna.tsinghua.edu.cn/jenkins/;
proxy_set_header X-Real-IP $remote_addr;
proxy_set_header X-Forwarded-For $proxy_add_x_forwarded_for;
proxy_set_header Accept-Encoding "";
#proxy_set_header User-Agent "Mozilla/5.0 (Windows NT 6.1; WOW64) AppleWebKit/537.36 (KHTML, like Gecko) Chrome/36.0.1985.49 Safari/537.36";
proxy_set_header Accept-Language "zh-CN";
}
index index.html index.htm index.php;
#error_page 404 /404.html;
location ~ /\.
{
deny all;
}
#access_log /data/weblog/xx.access.log;
#error_log /data/weblog/xx.error.log;
}
- jenkins
1 | yum install git |
jenkins 装完启动 然后关闭 修改完所有配置文件再启动
如果不生效 则尝试重启 nginx 和 jenkins 顺序很重要
- 先改 jenkins 配置文件 然后装 nginx 启动 nginx 再启动 jenkins
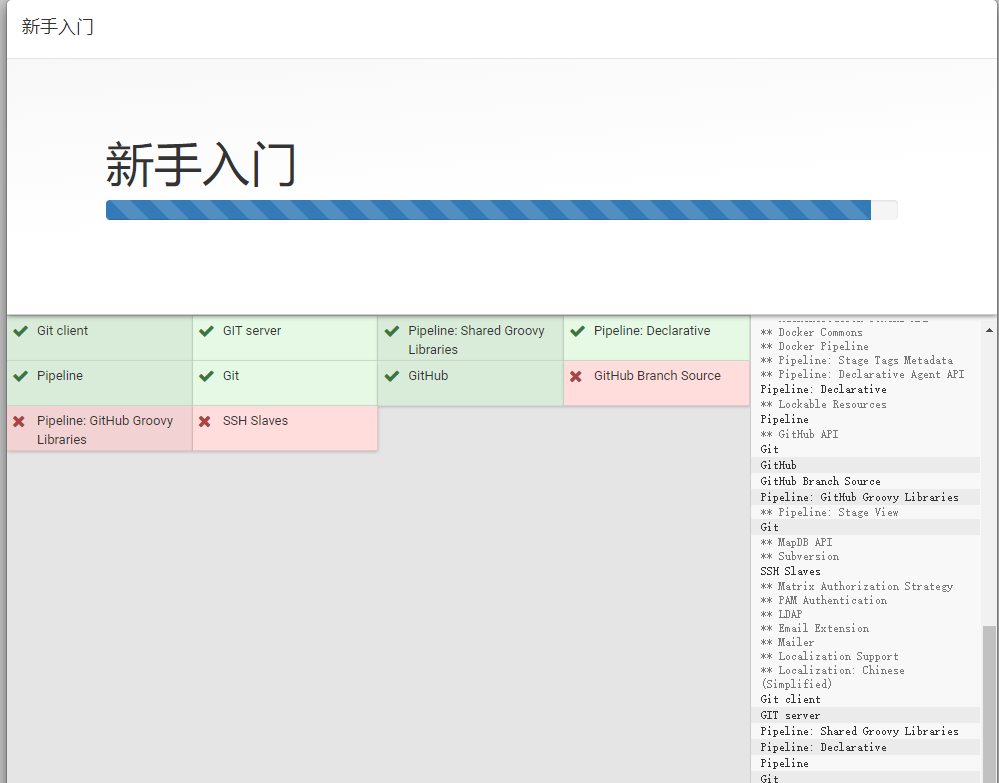
- 如果有安装失败, 点击重试重新安装即可
卸载
1 | service jenkins stop |
未完待续
gitlab+jenkins持续集成